Waiting for epoxy floors to cure can delay your entire garage project. Fortunately, there are a few simple tricks that can help speed up the drying process without compromising the finish. In this article, we’ll cover five quick hacks to get your epoxy floor ready faster and more efficiently.
1. Temperature Control
Temperature plays a significant role in how quickly epoxy cures. Ideally, epoxy should be applied when temperatures range between 70°F and 80°F (21°C to 27°C).
If the room is too cold, the curing process slows down. To encourage faster curing, consider using space heaters to raise the ambient temperature. However, be cautious. Too much heat can lead to other problems, like bubbles or uneven curing.
It’s crucial to maintain a balance, keeping the temperature in that ideal range. A thermometer can be a handy tool here, ensuring conditions are just right for optimal curing.
In addition to space heaters, consider insulating the area where you’re working. Drafty spaces can drop temperatures significantly, so sealing those leaks may help maintain warmth. This simple step can be a game changer in keeping your epoxy from slowing down.
Lastly, plan your application for times when the temperature naturally rises. Early afternoons often provide the best conditions, which can help speed up the curing process without the need for extra equipment.
2. Humidity Levels
Epoxy curing is sensitive to humidity. High humidity can prolong the curing time, while lower humidity levels tend to speed it up.
The ideal humidity range for epoxy application is between 40% and 60%. If you’re working in a humid environment, consider using dehumidifiers to control moisture levels.
Dehumidifiers are particularly useful during warmer months when humidity is high. They can reduce the moisture in the air, creating a more favorable environment for curing. This not only speeds up the process but also reduces the risk of problems like condensation forming on the surface.
Another quick tip? Check the weather forecast before starting your project. If rain is on the horizon, it might be wise to postpone the application.
Just a few hours of heavy rain can raise humidity levels considerably, leading to longer cure times. Additionally, try to avoid applying epoxy right after rain. Even if the skies clear up, the residual moisture in surfaces can affect how the epoxy bonds and cures.
Waiting for the area to dry completely can save you time in the long run.
3. Proper Mixing Techniques

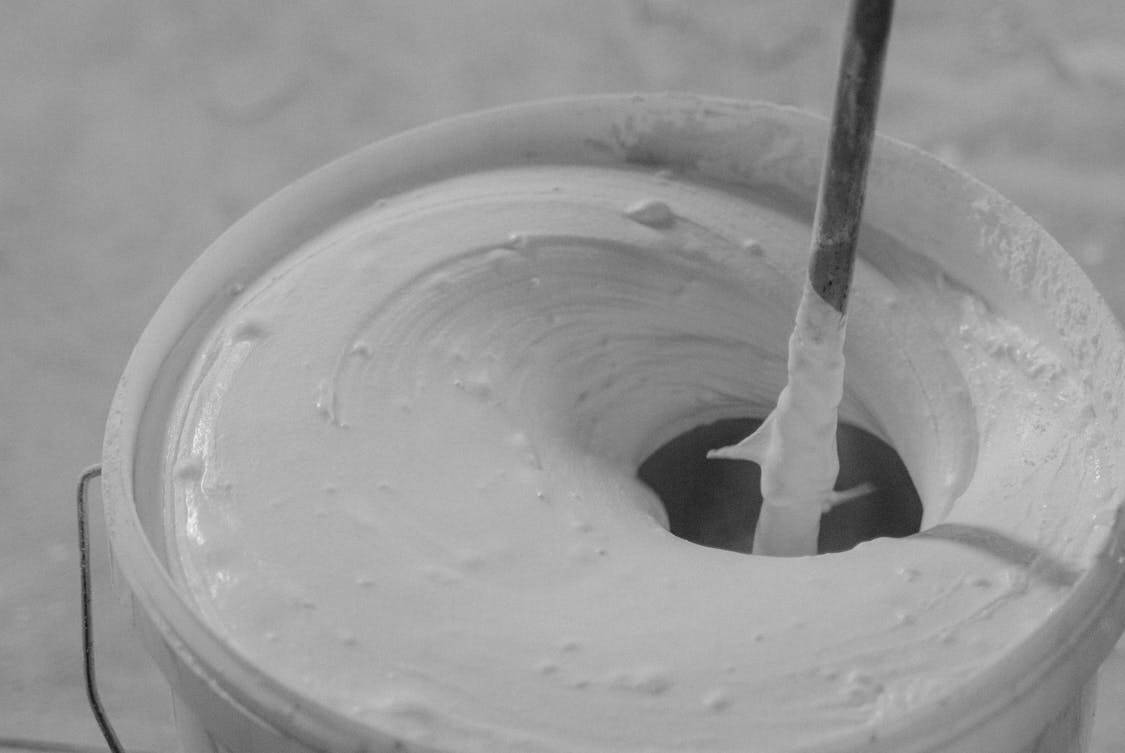
Properly mixing the epoxy and hardener is crucial for a speedy cure. Inadequate mixing can lead to a slow chemical reaction, extending the time it takes to harden.
Always follow the manufacturer’s instructions for the correct mixing ratio, usually found on the product label.
Use a clean, dry container for mixing to avoid contamination. Stir the components thoroughly, scraping the sides and bottom of the container to ensure an even blend.
This little detail can make a world of difference in how quickly your epoxy cures. Consider using a power mixer for large batches. A power mixer ensures uniform mixing without the elbow grease.
Just be cautious not to whip too much air into the mixture, as this can create bubbles that may affect the finish.
After mixing, pour the epoxy onto the floor promptly. Delaying application can cause the mixture to start curing in the container, which might impact its performance. Getting it on the floor as soon as possible can help achieve a quicker cure time.
4. Thin Application Layers
Applying epoxy in thinner layers speeds up the curing process significantly. Thick layers of epoxy take longer to cure since the heat generated during curing can’t escape as efficiently. Aim for a maximum layer thickness of 1/8 inch for optimal results.
If you find yourself needing to apply a thicker layer for any reason, consider doing it in multiple stages. Allow each layer to cure fully before applying the next one. This method not only helps with curing speed but also enhances the overall durability of the floor.
For best results, it’s always wise to consult professional installers who specialize in durable, seamless resin floor solutions to ensure proper application and a flawless finish.
Using a squeegee can help spread the epoxy evenly and thinly. This tool allows for control over the layer thickness, ensuring you don’t unintentionally apply too much. A smooth, even layer will cure faster and look better in the end.
Finally, keep in mind that airflow can also aid in curing. Open windows or use fans to improve air circulation around the area. Increased airflow helps dissipate moisture and heat, both of which contribute to a faster cure.
5. Use Fast-Curing Epoxy
If you’re really in a pinch for time, consider using fast-curing epoxy formulations. These products are specifically designed to cure more quickly than standard epoxies, sometimes within just a few hours. They are widely available and may even be your best bet for urgent projects.
Fast-curing epoxies often have a shorter pot life, meaning you need to work quickly. Be prepared to apply them as soon as you mix, ensuring you don’t waste any time once the components are combined. This can lead to a smoother workflow and less downtime.
When selecting a fast-curing product, make sure to read the instructions carefully. Different brands may have varying recommendations for application and conditions required for optimal curing.
Understanding these details will help you maximize the benefits of a quicker curing time. Bear in mind that while fast-curing options save time, they may also have different properties compared to standard epoxies.
For instance, they might be less forgiving in terms of application mistakes or may require specific conditions to achieve their full potential. Always weigh your options before diving in.


